In this document, the keywords MUST, MUST NOT, REQUIRED, SHALL, SHALL NOT, SHOULD, SHOULD NOT, RECOMMENDED, MAY, and OPTIONAL have a very specific meaning when shown in THIS TYPESTYLE, and MUST be interpreted as described in RFC 2119 (Bradner, 1997).
When shown in normal type, these words keep their conventional contextual degree of meaning.
Follow this procedure to create a special pre-authenticated ‘App Password’ to let you add your email account to an app which does not support MFA (Multi-Factor Authentication).
You will need to use this special password to log back into an account on such an app, when your email account has been given MFA that it didn't have before (locking you out).
Note that you MUST have been registered for MFA before you start this procedure, as it will send a code to your nominated cellphone in order to log you in.
You SHOULD have the setup or preferences for your new or existing email app open in another window where you want to use this app password, as it will be displayed only once and MUST be copied for use, as explained in step 10 in the procedure below.
In your browser, go to https://login.microsoftonline.com/ and click on your account.
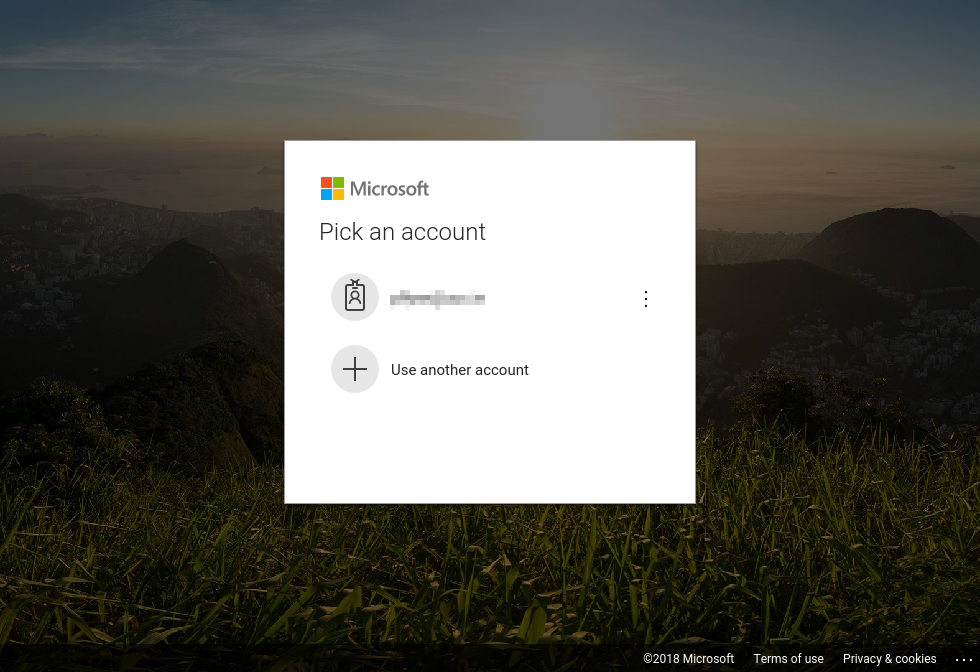
If you were already signed in, you MAY be redirected to the Microsoft Office Home page without the need to sign in again.
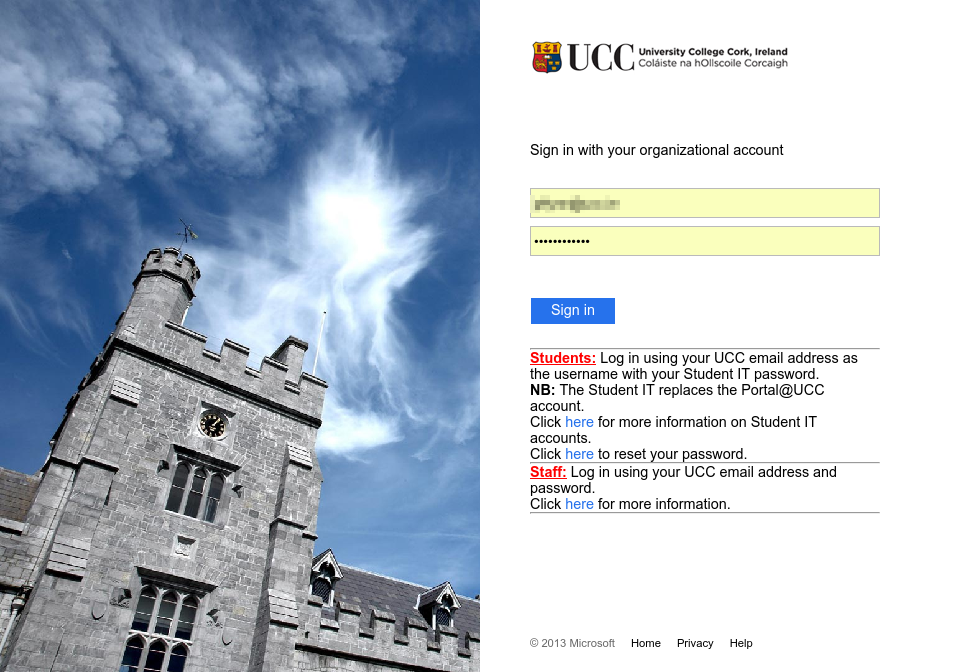
Otherwise, on the sign-in page, sign in with your UCC email address and password.
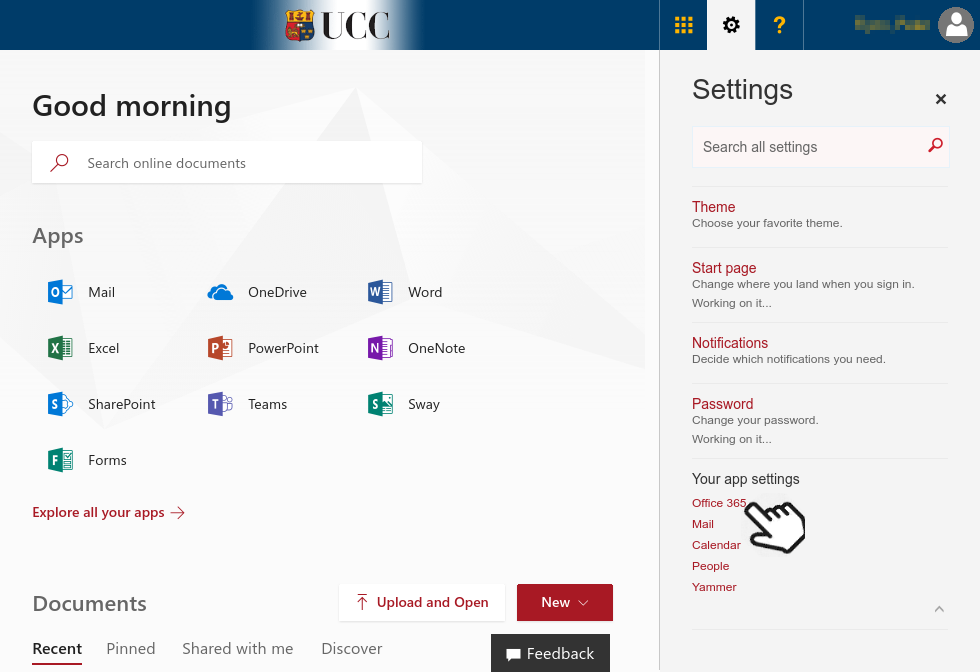
Click on the gearwheel (⚙) button at the top of the page, and then click Office 365 under Your app settings.
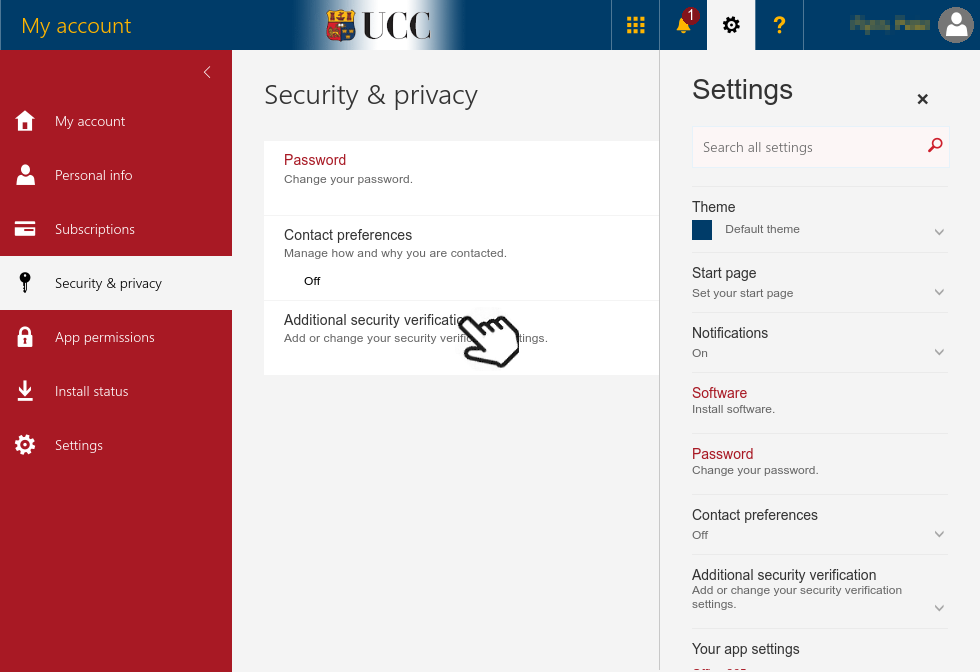
From the menu on the left, click on .
In the middle panel, click on Additional security verification.
This reveals a hidden paragraph: click on the link to Update your phone numbers used for account security

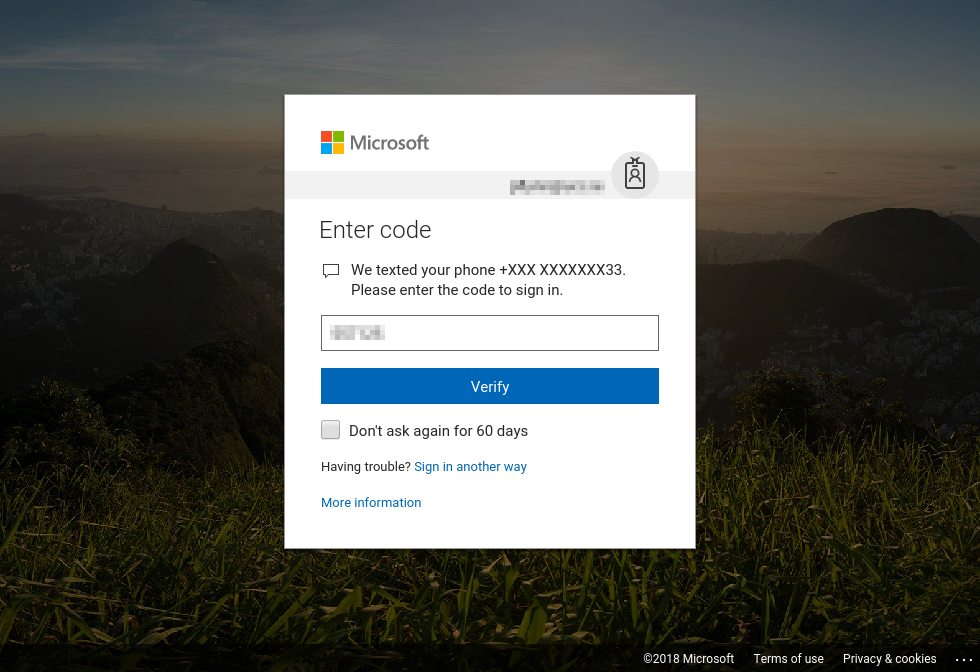
You will be challenged by the Microsoft security portal and asked to type in the code that will have been sent to your nominated cellphone.
When the code arrives, type it in and click
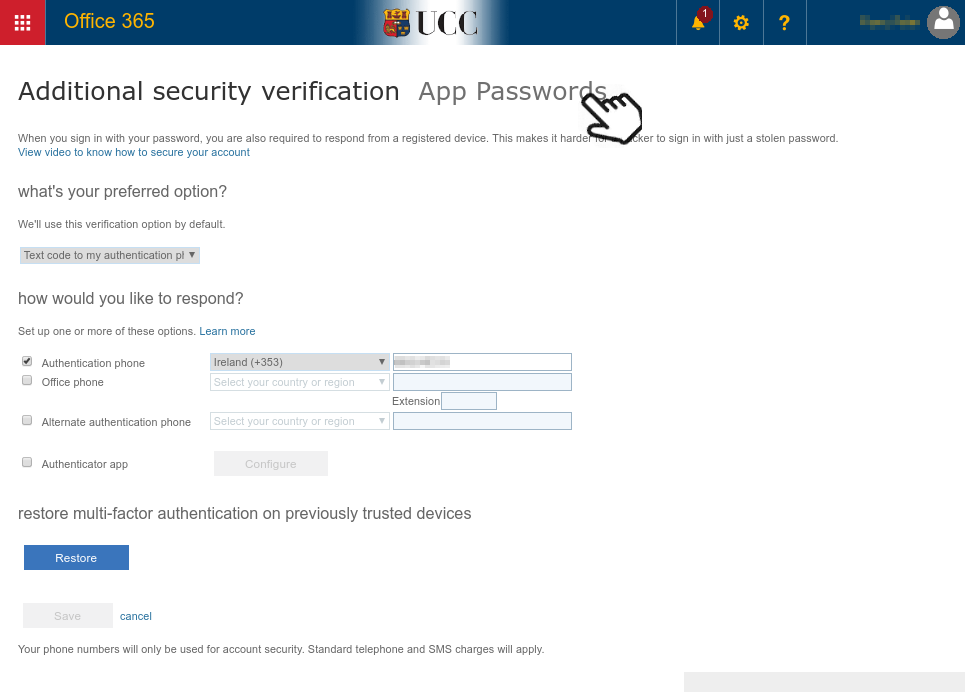
This brings you to the Additional security verification page.
To add an App Password, click on the phrase App Passwords (in grey, disguised as part of the title: it is actually a link)
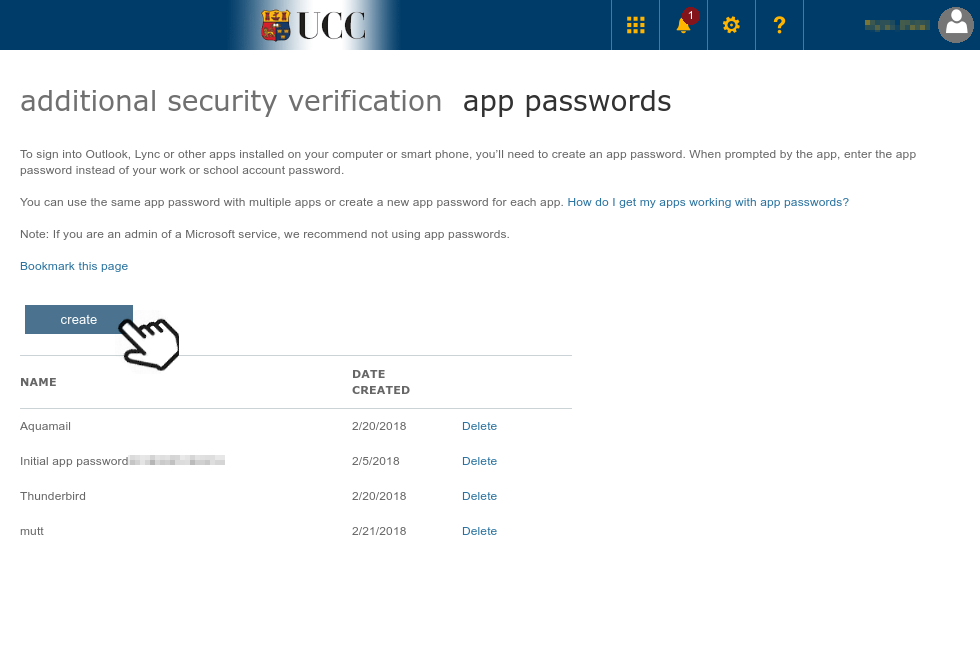
This takes you to another additional security verification page where you can click on the button to create a new app password.
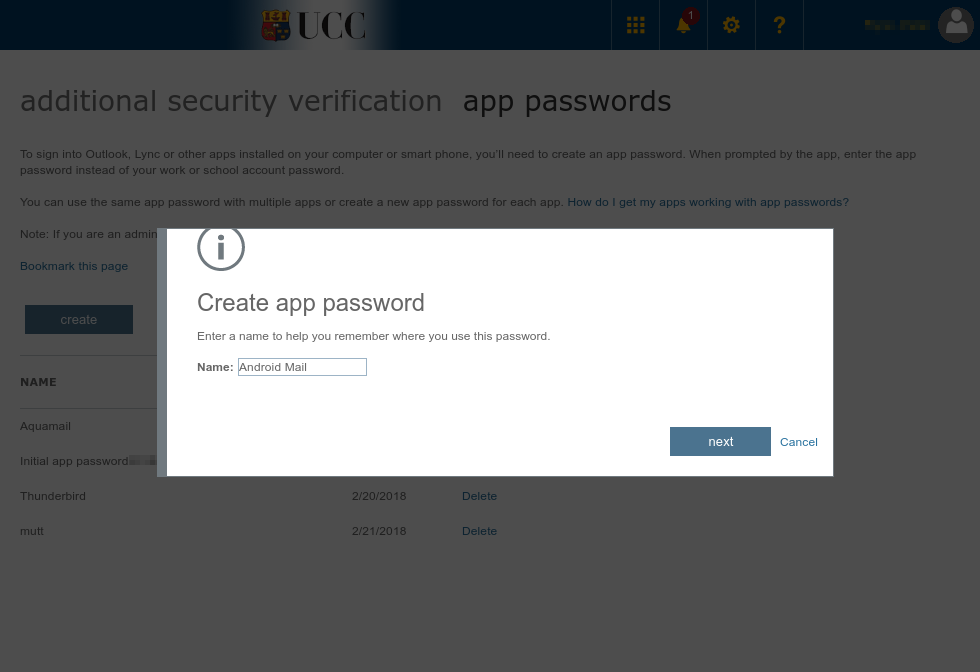
Click on and give the name of the app you are creating this password for (eg AquaMail, Thunderbird, etc) and click
Your new app password will be displayed. You can copy it by clicking on the button so that you can paste it into the window where you are setting up your account in the new app (or re-enabling the account in your existing mail app).
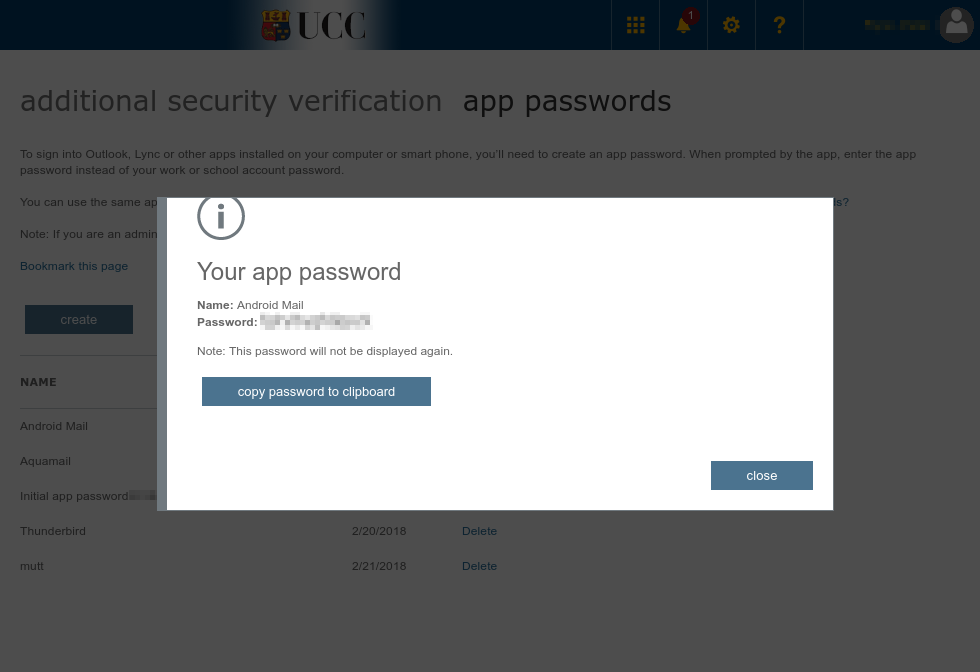
Microsoft will never display this password again, so you only get one shot at copying it. If you mess it up and fail to copy it, you'll have to create another one.
Click to go back to your list of app password names.
You can create more app passwords at this stage (go back to step 9 in this procedure above).
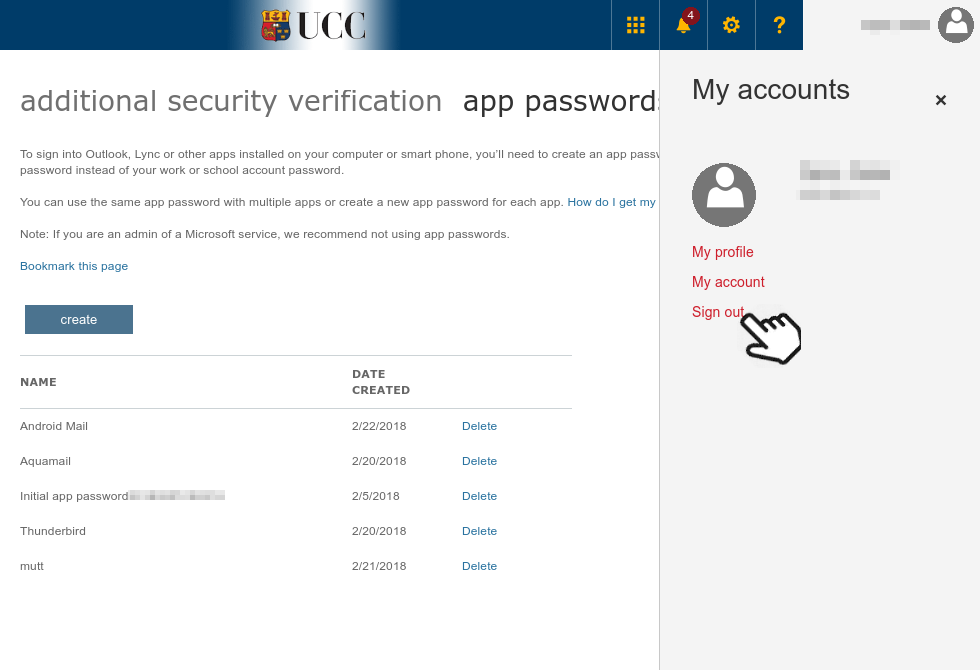
Under your name menu (top right-hand corner), click Sign out.
: Key words for use in RFCs to Indicate Requirement Levels (1997).
 Keep up to date with our RSS newsfeed Keep up to date with our RSS newsfeed |
, Electronic Publishing Unit • 2018-08-01 • (other) |